eMeeting Preparation - Appointments
Navigation path: eMeetings + tab: Appointments
Purpose
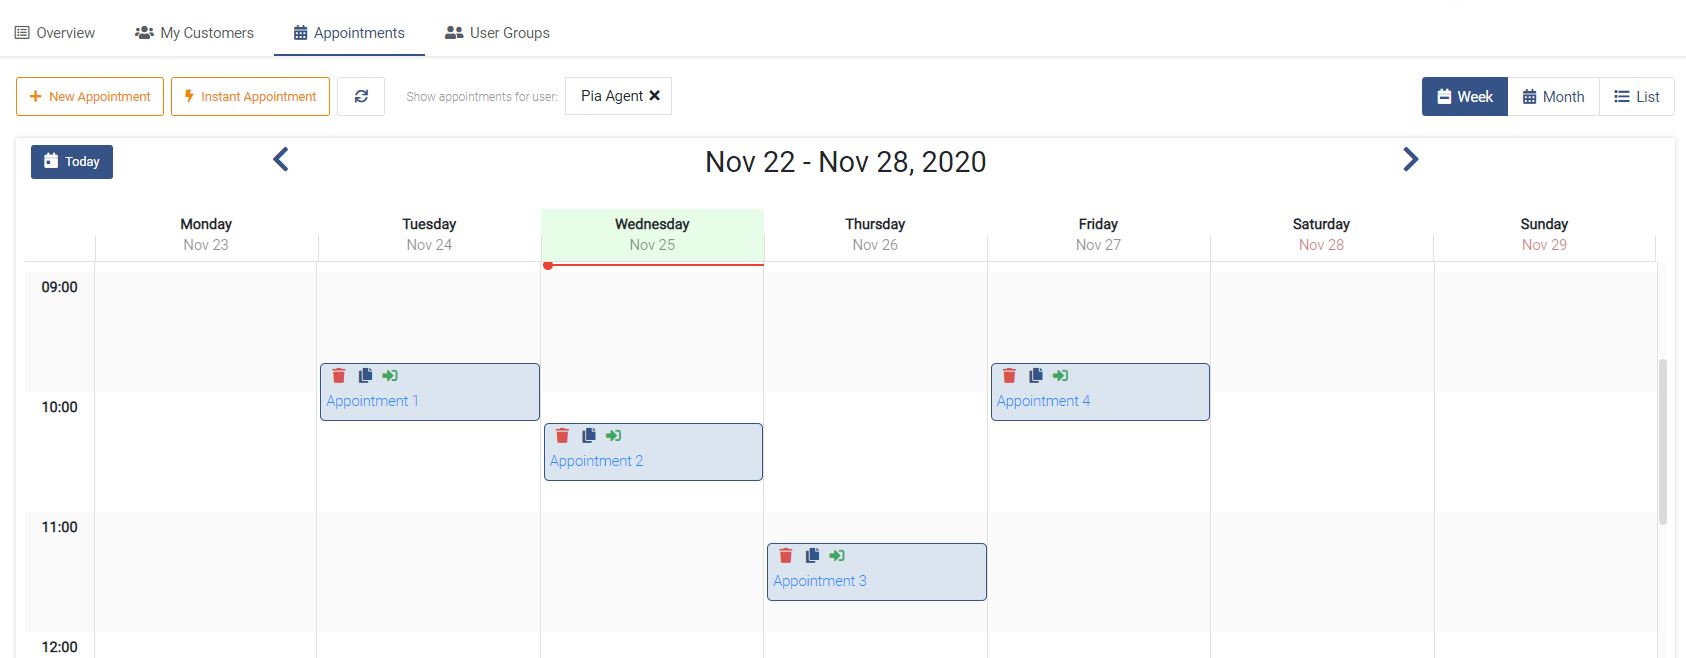
In the tab "Appointments" you will find a calendar view for your already created appointments. Further you can edit created appointments or create new appointments.
Feature description
Create new appointment
Via the button New Appointment you can create new appointments at different places in the application (overview, customer detail view) and send out appointment invitations to conversation partners. After clicking the button the following view appears:
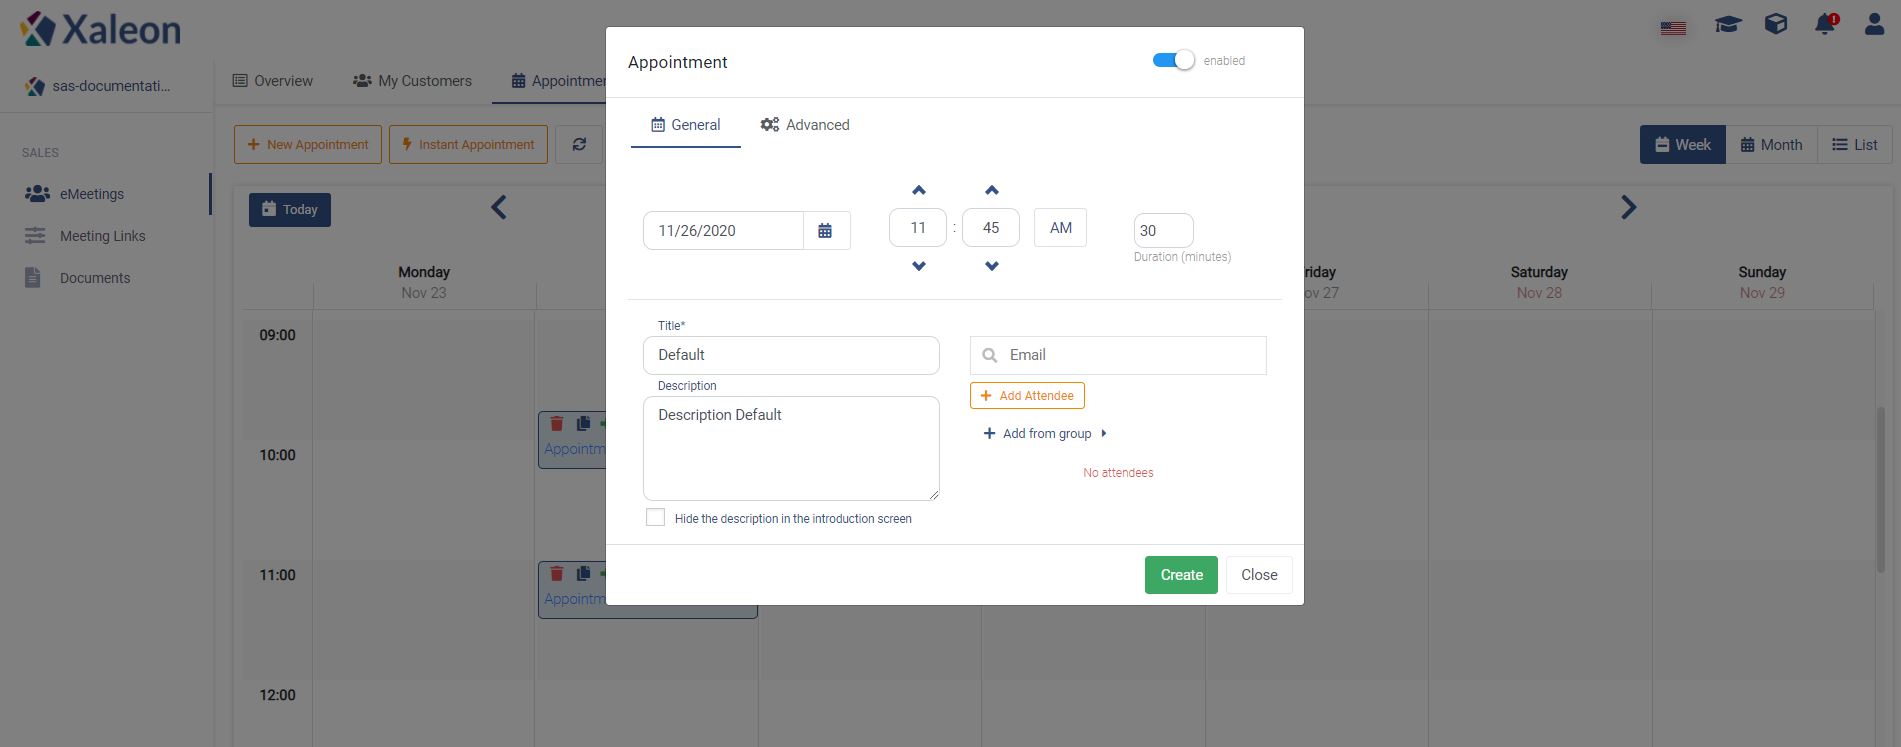
- Define the date, time and planned duration of the appointment.
- Title/subject of the appointment. In the description you can add additional information (such as agenda, etc.) - the description will be added to the appointment invitation.
- Add participants. By entering the email address (and pressing Enter) you can add one or more participants to the appointment.
- Mark the link as active/inactive. You can use this option to configure the validity of the link if necessary.
- In the tab "Advanced" you have further options to define the validity of the link. More about this in the next step.
Tab "Advanced"
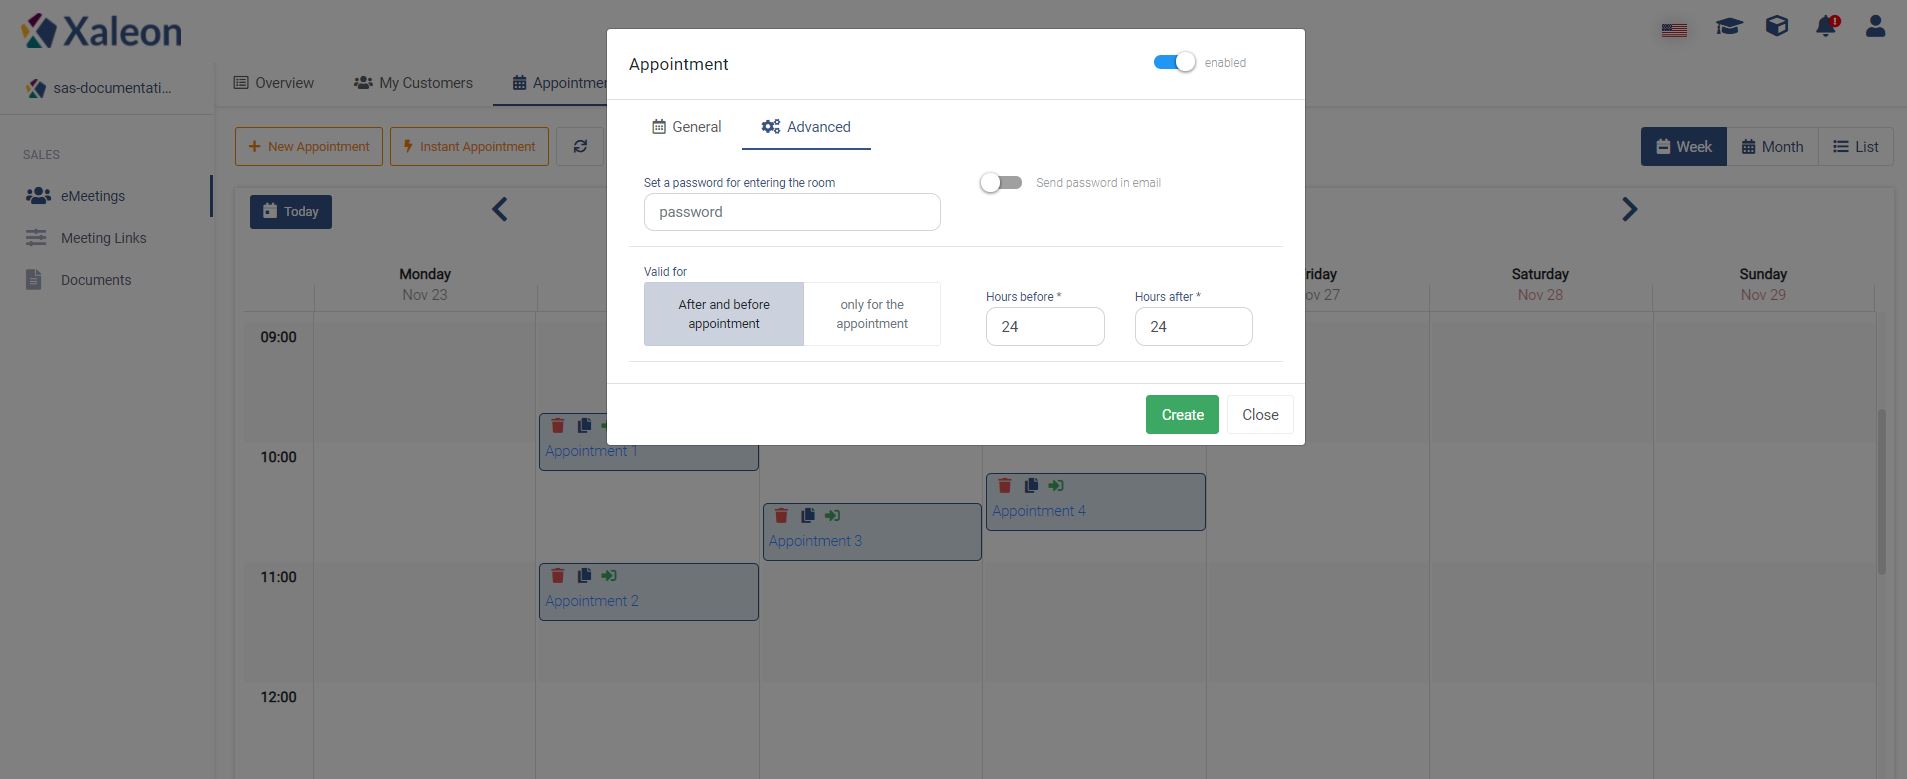
- Password. Here you can set a password for the appointment. You can either send the password directly together with the invitation link or separately in a separate email.
- Validity of the appointment invitation link. Determines from when and until when after the end of the appointment a participant can dial into the appointment.
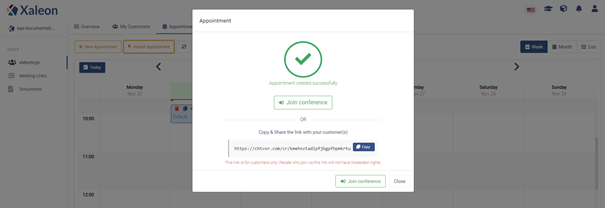
Meeting link
After clicking "Create" your meeting will be created and entered into your calendar. To share the link afterwards you can either copy an invitation link and send it separately or you can do the same by clicking on the button "Send invite emails".