
Live Chat
Navigation path: Main Menu > Live Chat
Summary
Purpose
The Live Chat (also WebChat) interface is where you handle all incoming chat messages from your WebChat. Additionally, you can integrate your Facebook Page's Inbox to bundle your chat efforts at one point.
Functionalities / need to know
Within the Live Chat interface you are able to do the following:
- handle conversations and assign/answer/close them
- shift from Live Chat to Agent View, and start Co-Browsing and/or Videocalling
- take notes through Additional Information to customers
- take notes within chat conversations
- send Flows or other media (documents, images, Articles, ...)
- view Session Recordings to better understand customer issues
- export transcript from chat (as CSV)
- create CSV Reports about conversations and gathered information
- create Tickets to keep an overview of all customer inquiries
References to further configuration
With the Live Chat being a central and connected feature, there are a lot of options for configuration:
- configure appearance of WebChat in WebChat Module Configuration (Customize)
- configure availability/visibility of WebChat in WebChat Module Configuration (Availability) or using Action Rules
- define available fields of Additional Information
- define displayed agent name in User Management
- upload agent image in Profile Settings
- create Routing Rules
- create SLA Rules
- integrate Facebook Inbox/Facebook Messenger
- configure Notifications to notify about new incoming messages, newly assigned conversations, etc.
- configure Text Blocks
Feature descriptions
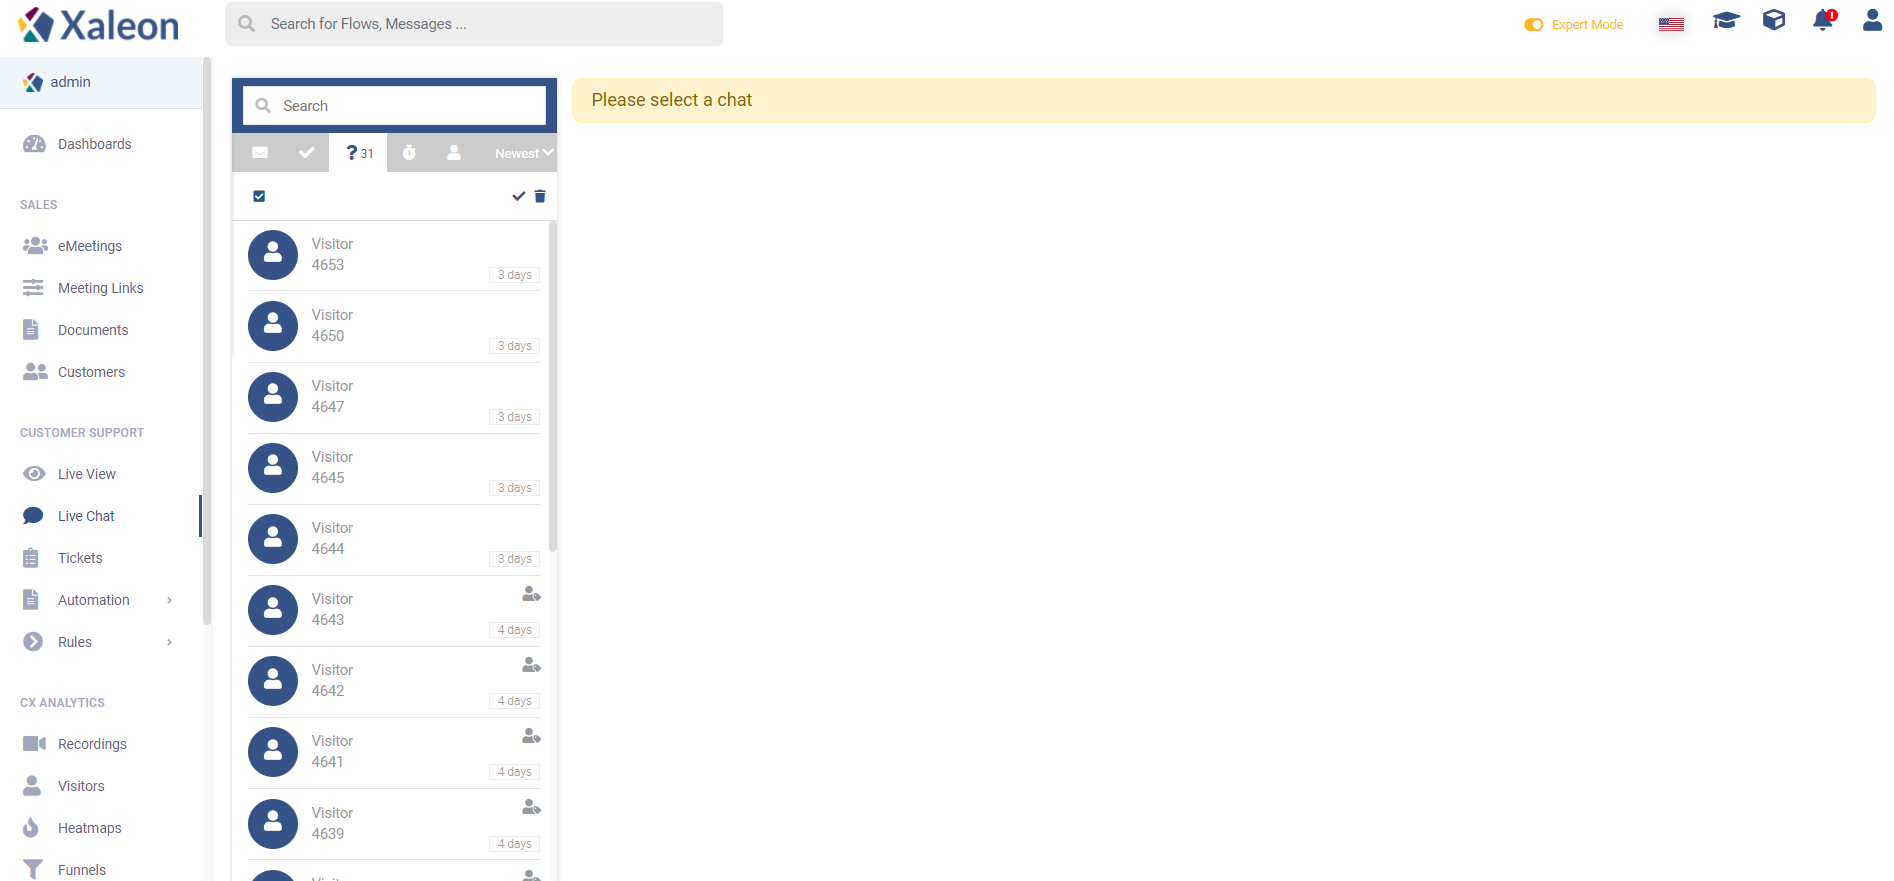
List of chats
On the left you find the list of open conversations with users. On top you can search for user names within your current status folder. The shown list can be filtered by "Status", "Newest/SLA" and "Provider".
Status
The status is related to each conversation and can be:
- Unread
- Done
- Unresolved
- All
A user sending a new message will receive the "Unread" status and remain in that state until someone changes it. When there's no status filter active, "Unread" messages will be shown by default.
Additionally to that, you can use the toggle switch to only show conversations that are assigned to you.
Newest vs. SLA targets
SLA Rules allow you to define conditions about when a customer shall be prioritized by your agents. With this filter, you can order by newest message vs. priority.
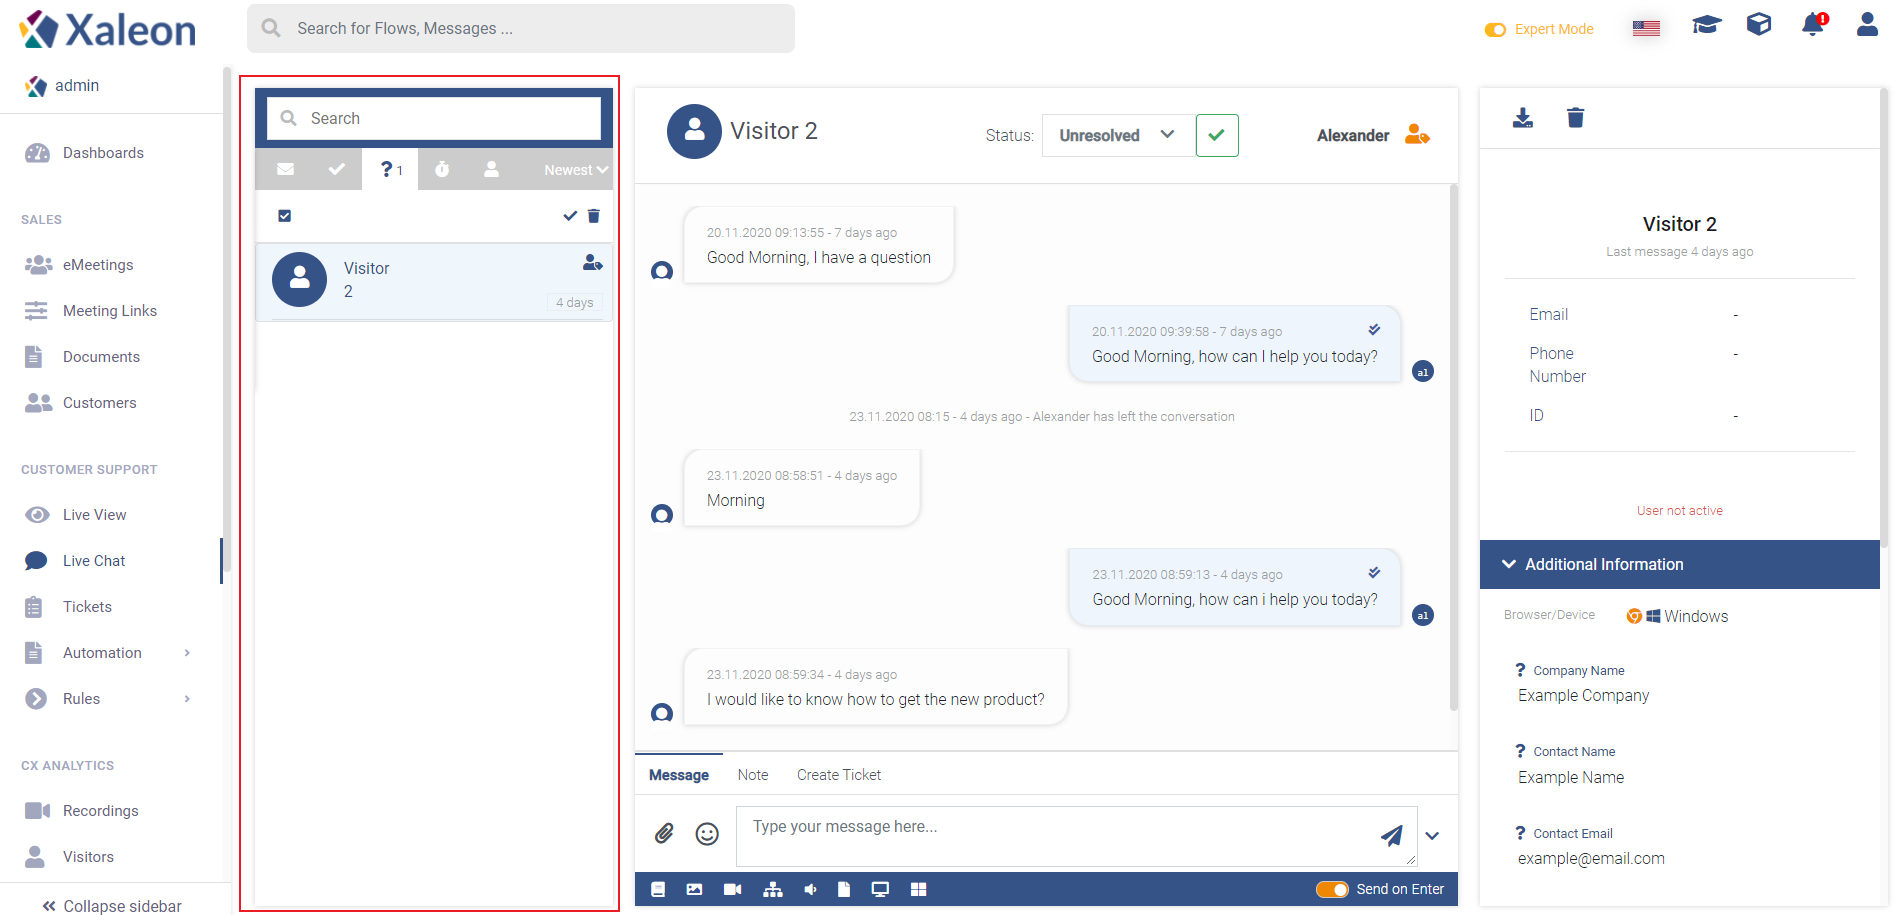
Chat window
On top of the Chat Window you can change the status of the conversation from Unresolved to Done and assign the conversation to yourself (if the conversation has not been assigned yet) by clicking the Assign to me button or assign the conversation to another team/agent by clicking on the orange agent-icon.
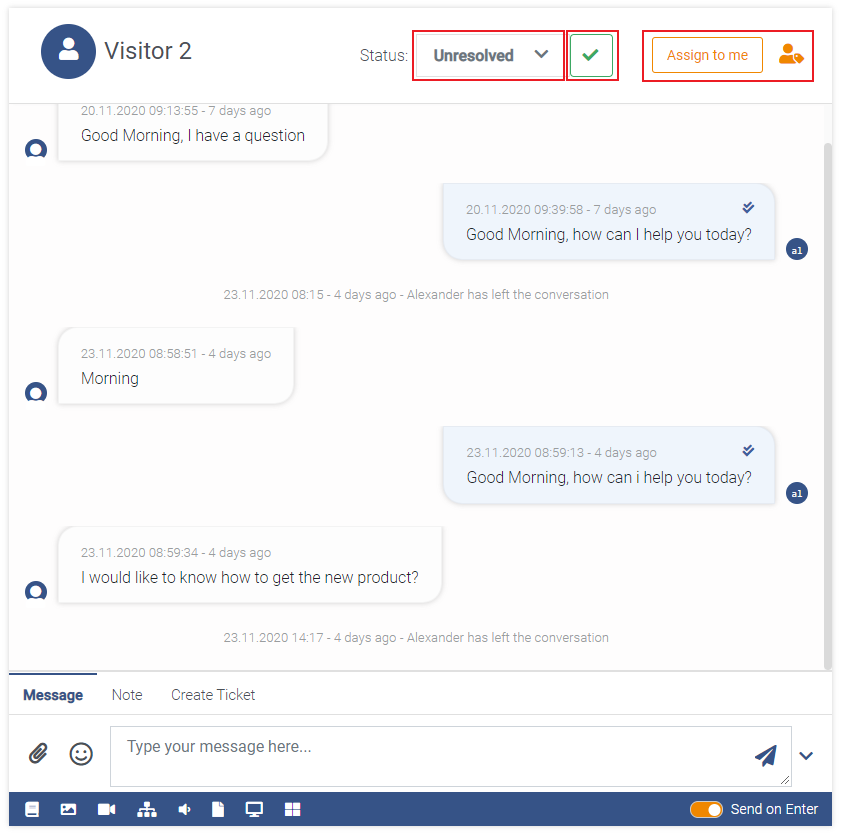
Input Field
Use of Text Blocks
By entering '#', you can search for previously created Text Blocks to answer customer requests quicker and make routine messages more efficient.

Attachments and "special messages"

Through the bar of icons below the type-in field, you can send attachments or use Chatvisor-specific features (table from left to right):
| Option | Note |
|---|---|
| Articles | Send Articles from article management in chat. |
| Image | Send images to the customer |
| Video | Send videos for better explanation to the customer |
| Flow | Send Flows to users. |
| Audio | Send audio files to the customer |
| File | Send files to the customer (no specific type) |
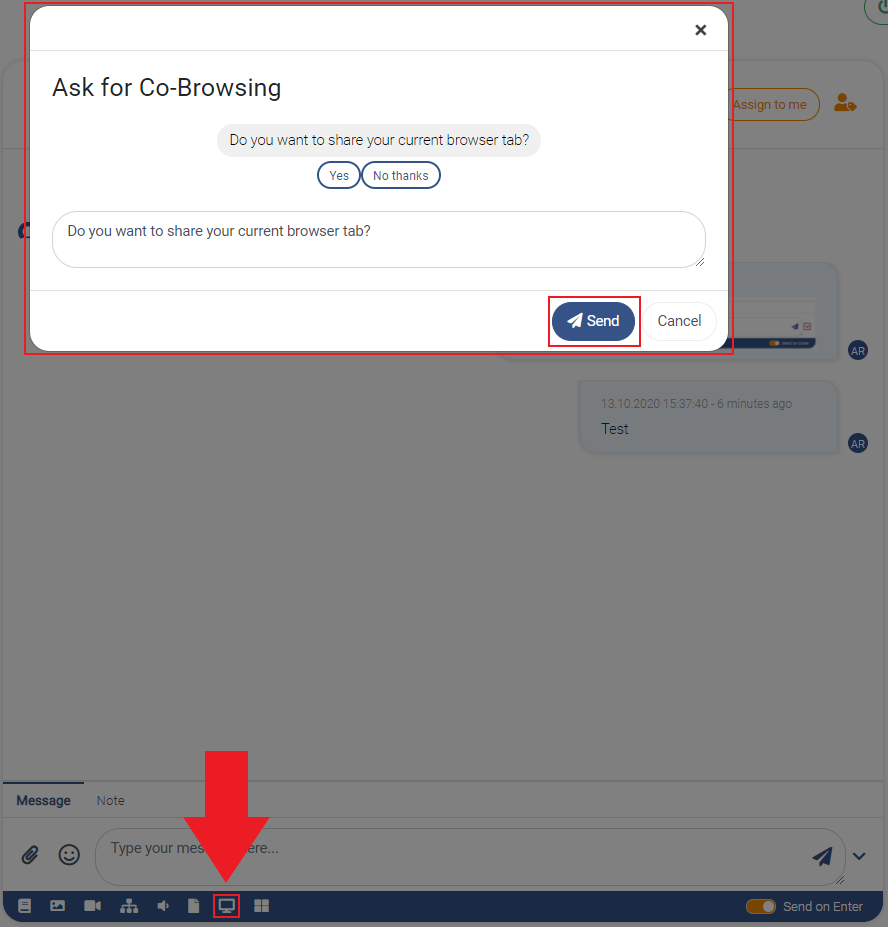
| Ask for Co-Browsing | Provide the customer with an opportunity to opt-in and start Co-Browsing/Agent View session. |
| Chatblocks | Send previously created Text Blocks |
Furthermore, the bar can be toggled by clicking on the chevron icon on the right side of the input field.
Ask for Co-Browsing
Ask the user to start a Co-Browsing session with you:
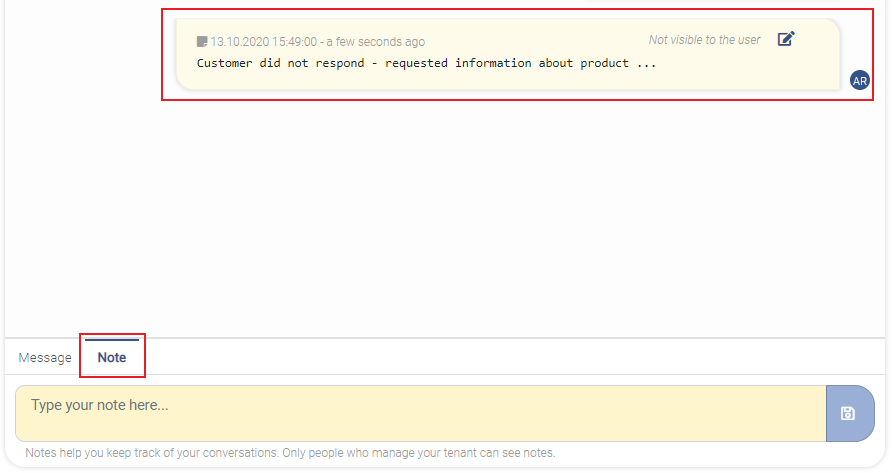
Notes
On the bottom you can switch to "Notes". Notes will be texted into the conversation, but are only visible for you and your team. They are a great way to end conversations which are not resolved allowing you to leave all information at one point.
User details view
On the right you see further information to the user. Here you can:
- export a transcript of a chat conversation (
Export transcript), - delete the current user,
- find past Session Recordings of the user (if activated),
- enter further customer details using the
Additional informationsection and - view Form Results (which have to be pre-defined)
Additional information is a customizable section, you can manage the input fields here. or by clicking the Configure fiels button
