Auto Responder
Navigation path: Automation > Auto Responder
Summary

Purpose
The Auto Responder is a keyword-based trigger feature. When a user messages a set keyword, it will trigger a response, a ticket or a Flow.
Feature descriptions
Your first Auto Responder
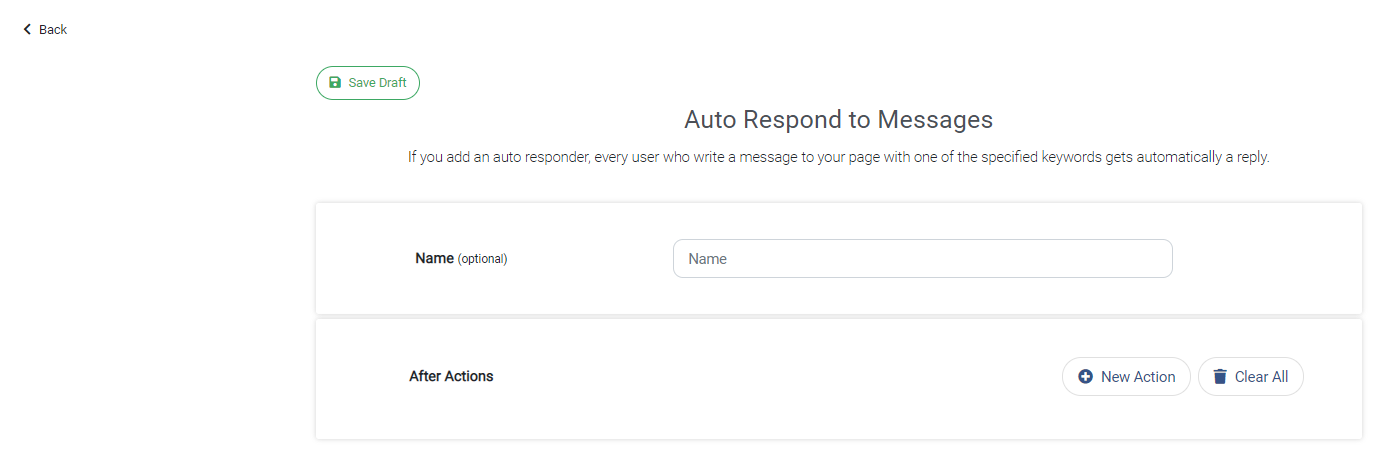
With + New Auto Responder you can create a new Auto Responder. Make a good habit in naming them properly. Click + New Action to create a new Action.
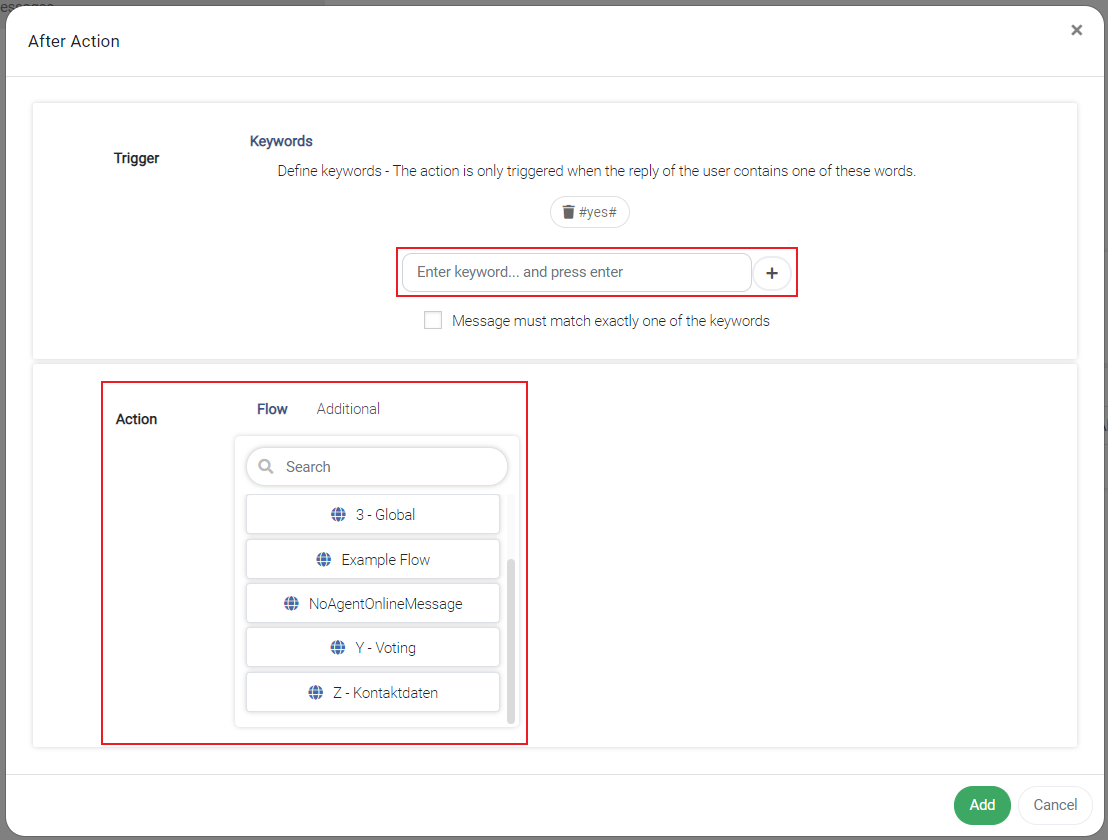
A window will open where you can enter a keyword (add the keyword by pressing +) which will determine when the Auto Responder will trigger. Then you have to define the action which will be executed when the Auto Responder triggers.
An action can have several additional actions:
- Add label (adds a label to the conversation)
- Remove label (removes a label from the conversation)
- Add custom field (lets you add a custom field to the conversation)
Note: A single Auto Responder can have multiple Keyword/Action combinations.
Keyword (Trigger)
When a user sends a message containing a keyword, the set action triggers (e.g. "yes"). The algorithm differentiates between alternate answers like "yes, please" which will trigger the set action and "yes, but long message..." which will not trigger an action because human assistance seems necessary.
Action
When the keyword matches, following actions can be initiated:
Flow
Trigger a Flow.Additional (Actions)
Use Additional Actions to add information to a customer or notify an agent about the conversation.
Lastly, add the Keyword/Action argument through clicking Add. Further make sure to create and active the Auto Responder through Save & Activate
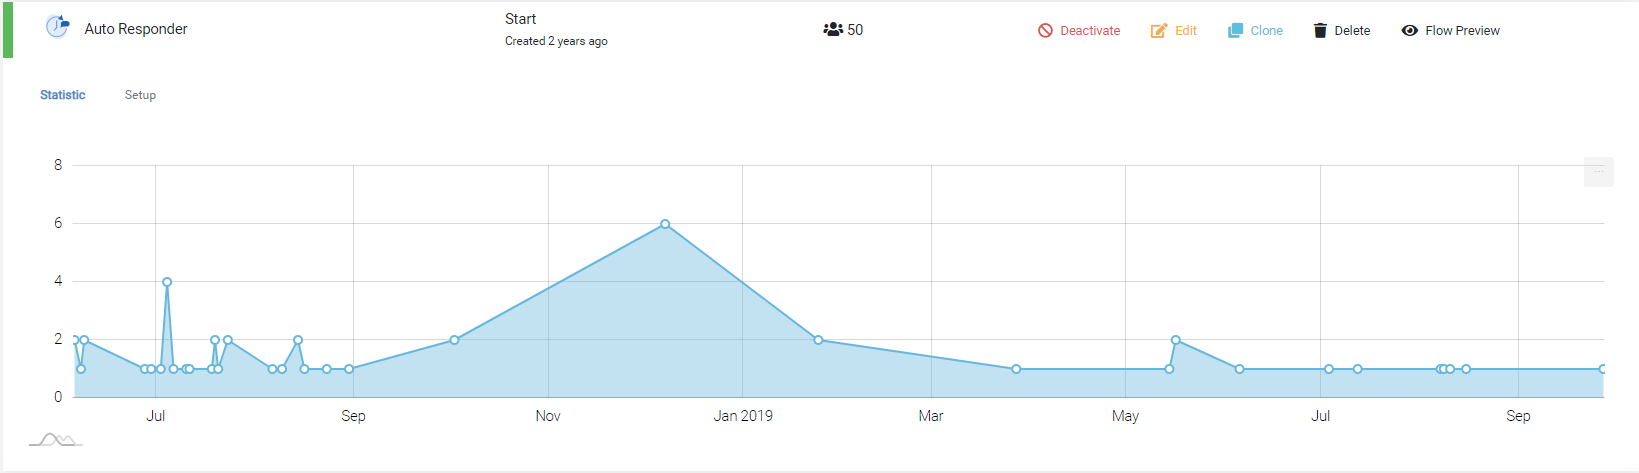
Overview
In the overview you see all your Auto Responders. Further you are here able to:
- see, how often each Auto Responder triggered
- create, edit, clone, de/activate, delete Auto Responders